
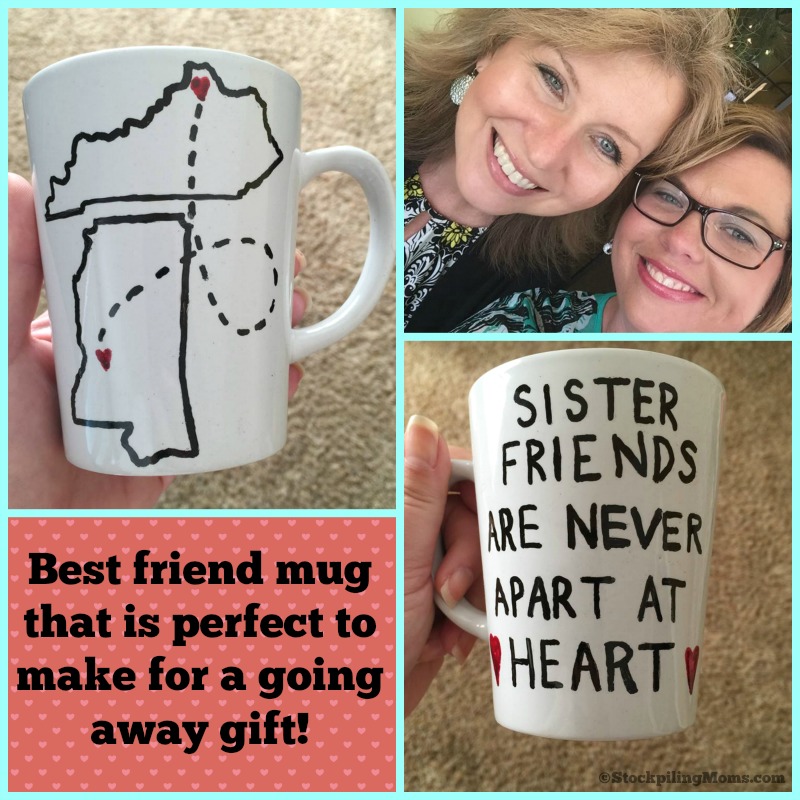
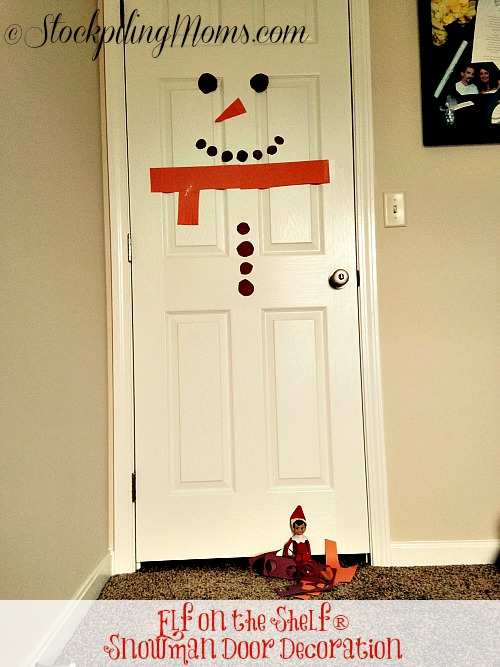
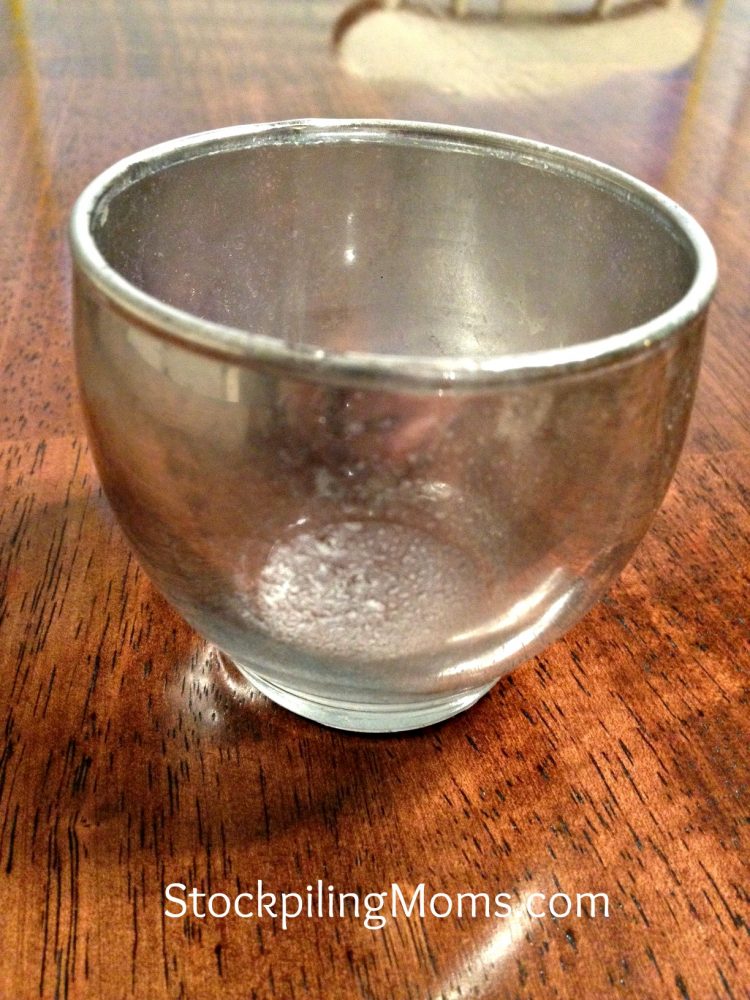
DIY Sharpie Mug
I am in LOVE with this simple DIY Sharpie Mug. We made these at Peyton’s class Holiday Party this year and not only did the kids love them but so did his teacher and the parents. I got so many messages after the party that I decided I had to share this simple DIY project with you.

Not only is it perfect for Holiday parties, gift giving and snow days it is Frugal and a gift that will last a lifetime. The kids LOVED creating these mugs. I was touched by how many of them chose to make them as gifts. Not only did they let their creative juices flow as we created Snowmen Mugs you could literally purchase any color of mug and create these mugs for any occasion. This is the perfect DIY gift!

DIY Sharpie Mug:
We are sure you have seen these Sharpie Mugs are all over Pinterest, but you may have heard that they are a Pinterest Fail too. In fact my friend made them with regular sharpies and learned the hard way. This step-by-step instructions not only shows you how to make them AND tips on which markers won’t wash off! This is such a fun easy project and DIY gift idea! We hope you love it as much as we did! Best of all you can make this project for around $1.00!
Supplies:
- Plain Mug (white or any solid color will work) – you can pick these up at the Dollar Store
- Oil Based Sharpie Markers (Not Regular Sharpie Markers) – you can order online OR pick up at craft store using a coupon
- Pencil, optional
Directions:
1. Wash and dry your new mugs and remove any price stickers from the bottom.
2. Using a pencil sketch your design on the mug (this is optional as you can always free-hand your design with the markers).
3. Draw your design with (oil based) sharpie markers.
4. Allow to dry without smudging by placing your hand inside mug to stabilize while you complete your design.
5. Place mugs on a cookie sheet and bake in a 350 degree oven for 30 minutes to “cure” the design.
6. After the mugs cool completely you can hand wash and use.
The Sharpie Mugs are NOT dishwasher safe. I repeat the Sharpie Mugs are NOT dishwasher safe. However we have used and hand washed our mugs a dozen times since we created them and the design is still there with no fading! I would personally NOT advise you to write on the interior of the mug for safety concerns.
Also you can use this mug as a flower pot, pencil holder or just for decoration if you desire instead of for traditional use. I think this would be the most amazing gift idea if you fill the mug with candy, coffee, tea, fuzzy socks or really the sky is the limit! Best of all I love handmade gifts. This is a really precious gift idea for parents, grandparents or any one on your gift giving list!


Melissa is a football and soccer mom who has been married to her best friend for 24 years. She loves sharing recipes, travel reviews and tips that focus on helping busy families make memories.
Good to know. We made these in our mom’s group. Now hopefully try again soon. Thanks
Such a cute idea. I will have to try this with my grandson,he is very much into crafty things .
This would be a really cute idea to do with my grandkids. I am thinking they could make one and give to their mamas for Valentine’s Day or Mother’s Day.
Love it!!
A fun craft and a great gift idea, too!
What a fun craft. I probably can get everything at the dollar store to do this. thx
Hi;
Wondering have you ever put this in the microwave? I normally use vinyl for my projects but that is a big no no in the microwave.
Thanks,
I have never put it in the microwave.
I used the oil based sharpie markers and the orange turned red after baking. I was very disappointed. Yours looks great though.
I didn’t have any issues with my red turning orange. What brand did you use?
I followed your steps using the supplies you listed and after I took them out of the oven they started chipping away. It looks like its just the black oil based sharpie thats chipping away. Can or should I redo them or just fix it with the sharpie and put them back in the oven?
I would fix them with the sharpie and put them back in the oven.
Will any oil based paint pins work or do they need to be sharpie?
Great question. I have purchased other oil based paints and they seem to work.
I sprayed mine with a clear sealer after baking.
We used Sharpie brand oil based markers. The brighter colors like green, pink, purple and blue faded to a muted shade. I was disappointed.
Hey Mel, is that 360° f or Celsius??
F 🙂