
How to make a Burlap Bow


The holidays are closely approaching, and I love to make DIY gifts and especially DIY Burlap Bows to put on gifts. Here is step by step directions on How to make a Burlap Bow. It is really simple, and you only need a few supplies and about 5 minutes of your time. Plus putting a handmade item on a gift is so touching.
You can make a Burlap Bow to put on a wreath for Thanksgiving or Christmas, on top of a present or if you make a jar full of items or cookie mix. It adds a special touch!
How to make a Burlap Bow
First lay your burlap on the floor or table and cross the two as shown in the photo. Then, with a piece of floral wire cut and ready, pinch the center of the ribbon to form a bow and secure with the wire.

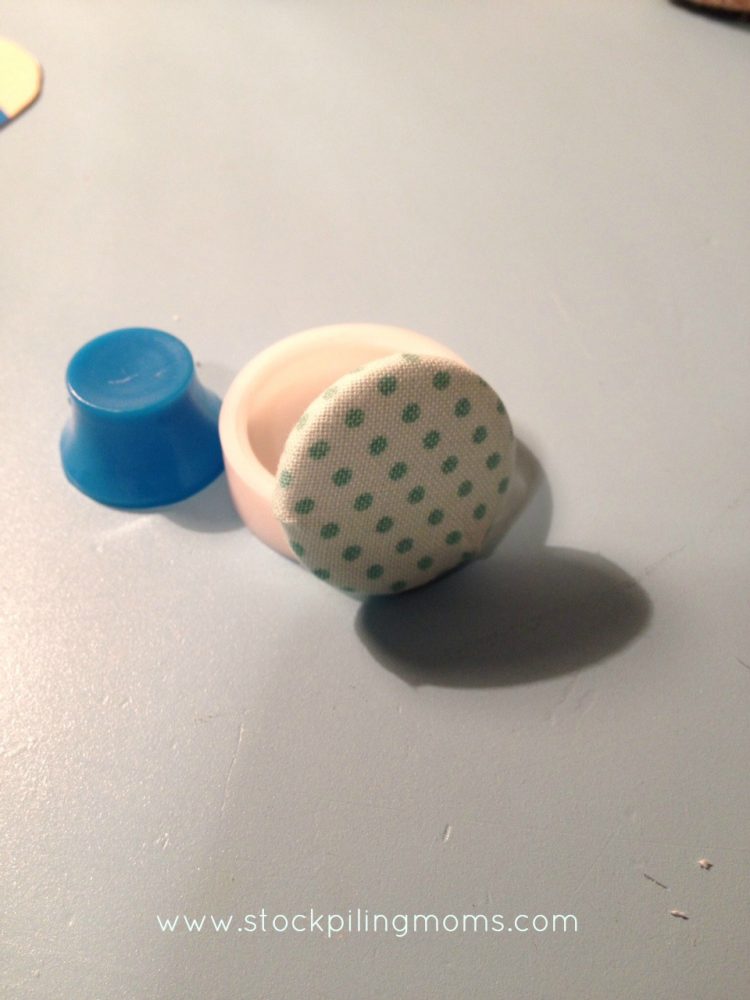
Once the center is secured, cut a piece of the ribbon about 3″ x 2″ or desired length and plug in your hot glue gun. Fold the fabric into thirds and glue together.

Then, tightly wrap the ribbon or fabric around the center of the bow and glue together on the back. Be generous with the glue to make sure it adheres well.

Leave the ends of the bow long until you secure it on your wreath, present or jar – that way you can decide how long you want them to be.
For directions on making a burlap wreath click here —>How to make a Burlap Wreath
DIY Crafts and Ideas
Thankful Thumbprint Tree Craft
Turkey Pinecone Thanksgiving Craft
Shelley is a boy mom, marine wife, and is blessed with an amazing family. She loves sharing recipes, travel reviews and tips that focus on helping busy families make memories.

Looks simple and quick!