Paper Plate Spider Craft
Are you looking for a super cute and cheap Halloween decoration? This Paper Plate Spider Craft is ideal! Of course, it is fun for you to make, but if you have kids at home, they can have fun helping you put this together! It would make a great craft for a Halloween party.

Paper Plate Spider Craft
I love decorating for every holiday and Halloween is no different. There are so many fun spooky ways to decorate, but I prefer the fun friendly ideas. This paper plate craft idea is a great way to make a cute spider that works well for Halloween and isn’t scary.

If you have little ones at home, this is a great option for a kids craft around the fall season, or any time of year for those spider loving kids!
Supplies for Paper Plate Spider Craft
- large paper plate
- purple or black craft paint
- black pipe cleaners
- white and black felt
- scissors
- craft glue or hot glue, glue gun
- paintbrush
How to Make Your Paper Plate Spider
Begin by setting all of your supplies up to make it easy to reach as needed. I recommend also laying down butcher paper, paper towels, or an art cloth on your surface area when painting. This keeps everything nice and easy to clean up and prevents accidents from happening on your table or carpet.

Your first step will be to apply two coats of craft paint to the paper plate. Use the color of your choice. Between coats of paint, allow the plate to dry well. Depending on how thick the paint is, this could be 15 minutes to one hour.
While the plate is drying, you can cut out the eyes of your spider. Just cut out two large white felt circles for the eyes. Cut out two smaller black felt circles for the pupils. Next, you will glue together the white and black felt creating the eyes. This is great for kids to help with when using craft glue.

Snip 8 segments of pipe cleaners. These will become the 8 legs of your spider. This is usually 2 pipe cleaners cut into 4 pieces.
Flip the plate over and glue them to the back of the plate with 4 legs on each side. You will need to hold these in place until the glue dries and they are secure.
Glue the eyes in place on the front of the plate and allow them to dry.
Use fishing line to hang from the ceiling, or set against a window sill to display.
More Halloween Craft Ideas
How to Make Cheesecloth Ghosts
Halloween Handprint and Footprint Craft
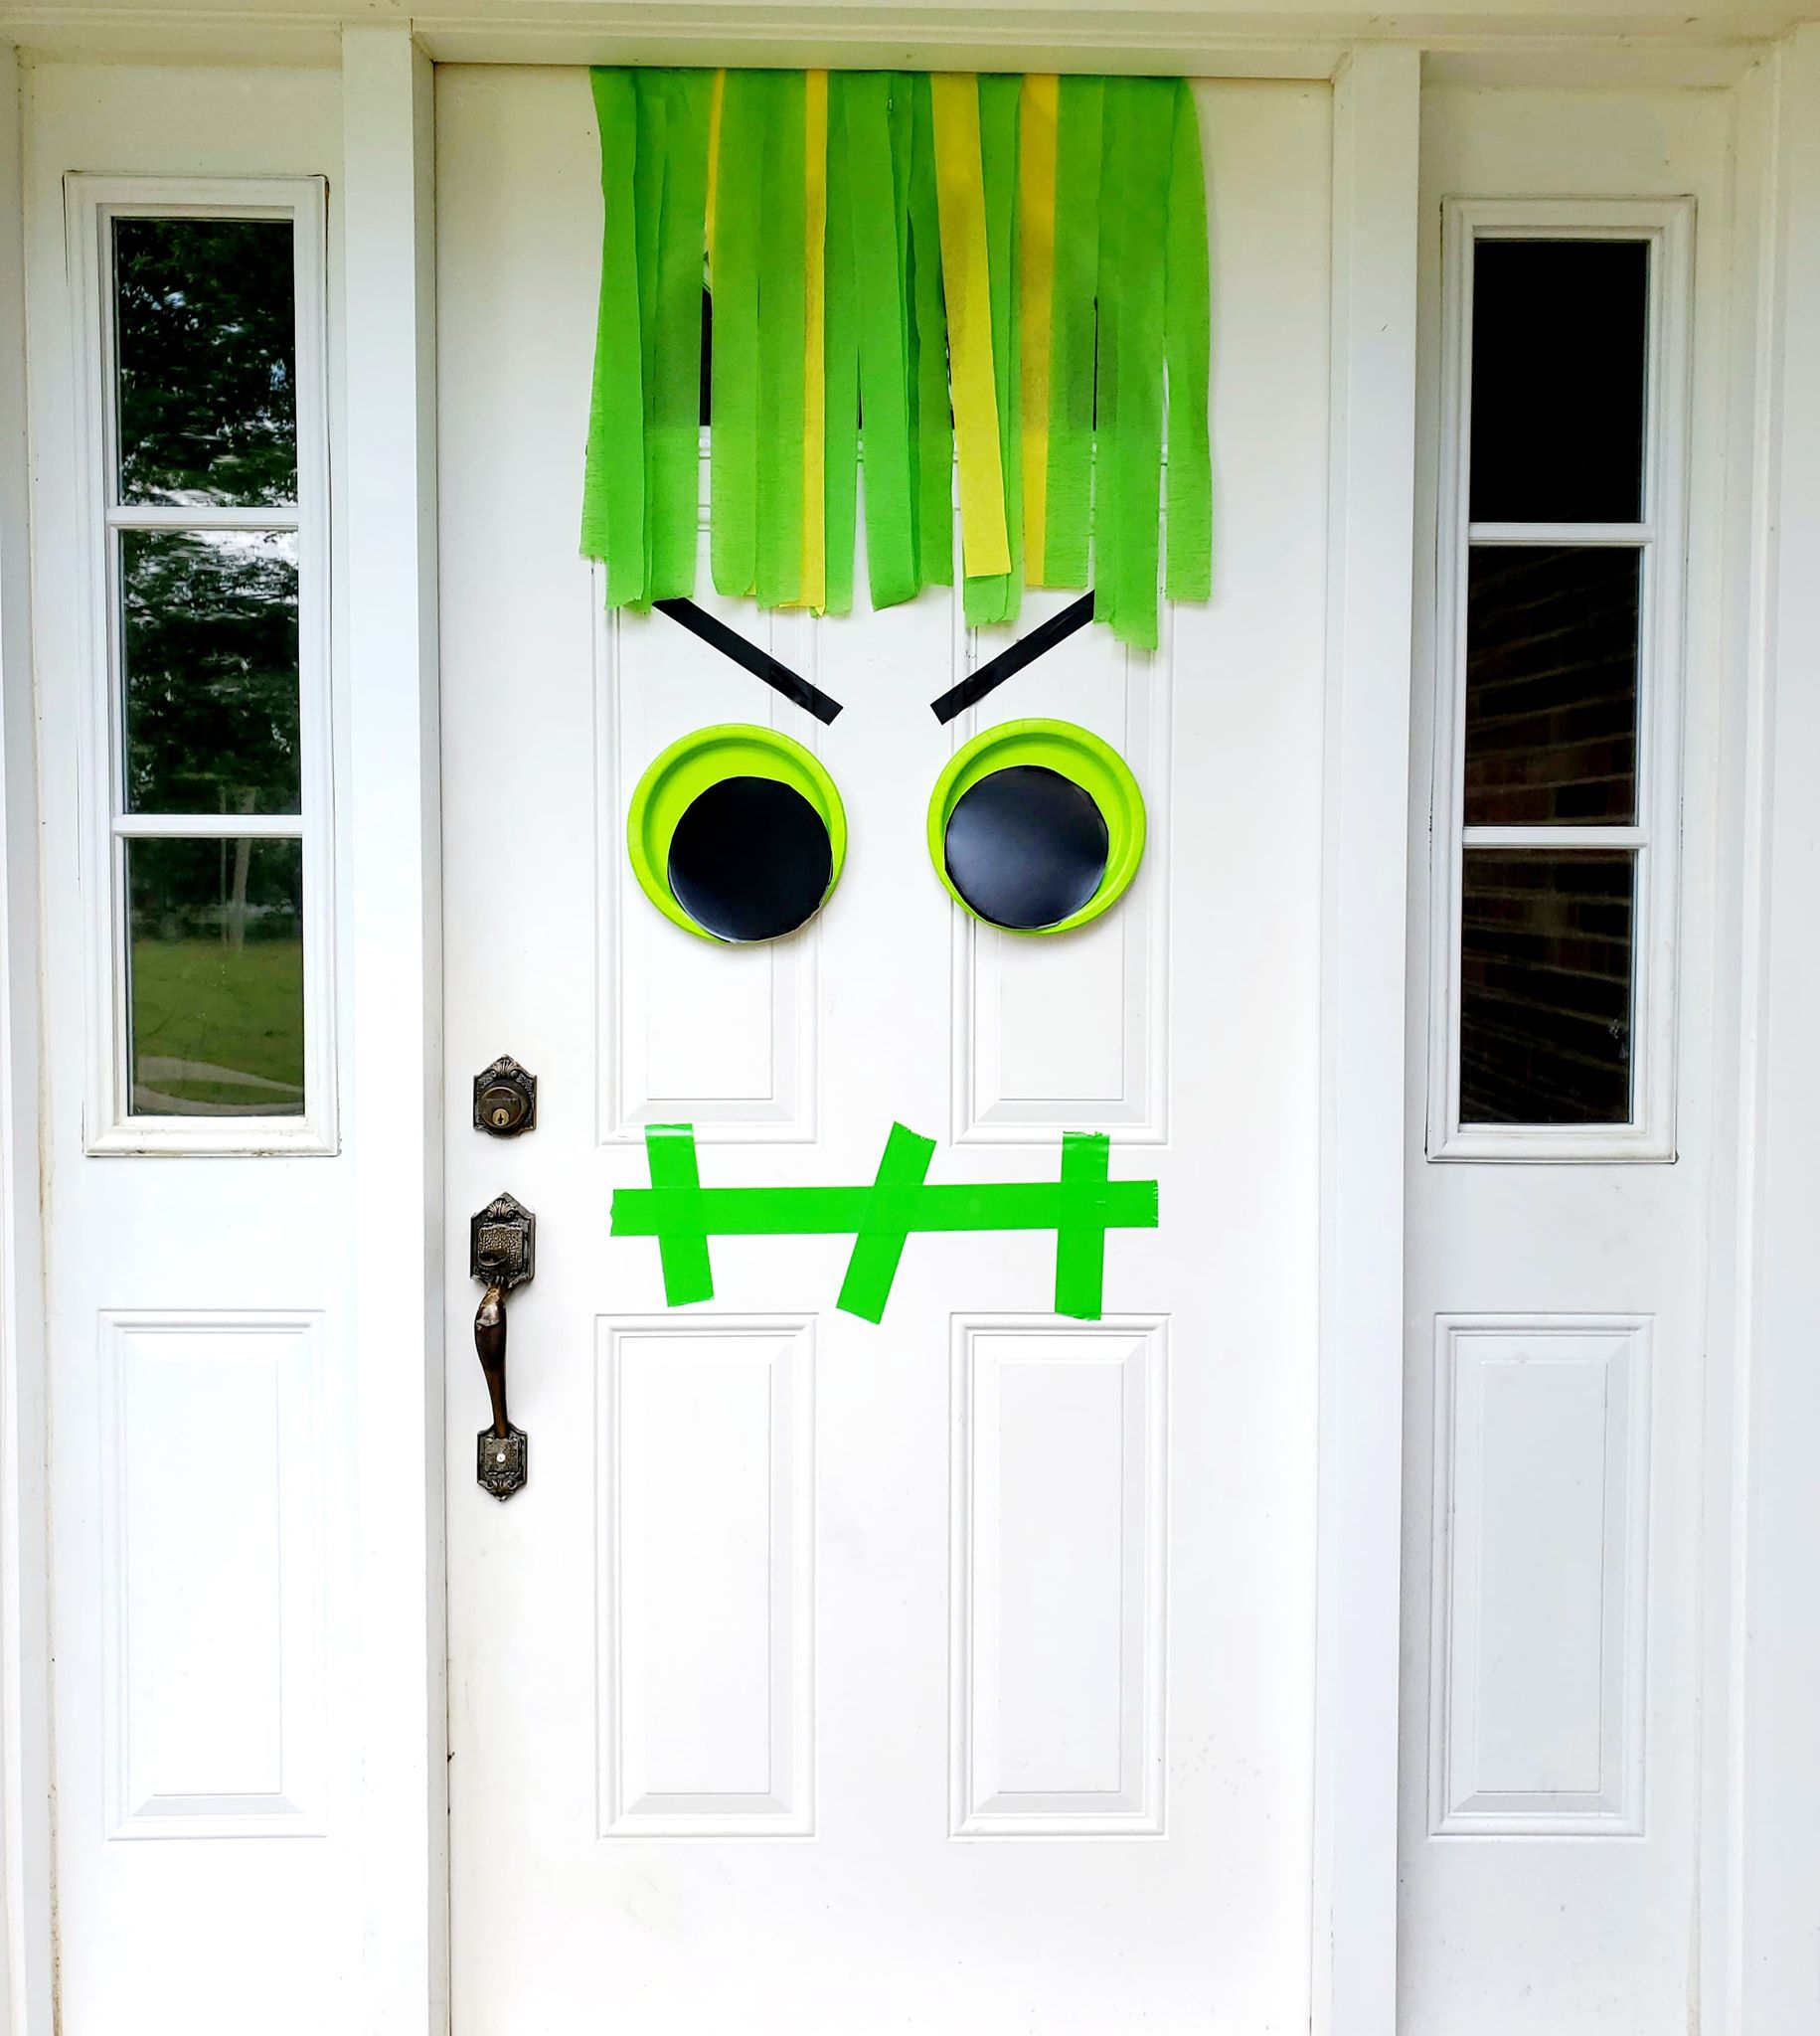
How to Make A Monster Halloween Front Door

Melissa is a football and soccer mom who has been married to her best friend for 24 years. She loves sharing recipes, travel reviews and tips that focus on helping busy families make memories.