How To Make an In Memory Wings Sign

This easy DIY In Memory Wings Sign is perfect for a gift for that special someone in your life who has lost a loved one. You could even give as a Christmas present. All you need is a simple wooden board and a machine to cut out a vinyl stencil(which is what my sister in law did) or your can make stencil from paper to lay on the board and paint for the sign. I recommend chalk paint, but you can use whatever paint you want. My sister in law added craft roses to the top of my sign, but you do not have to add. You can really make this with many possibilities by changing color of wood and adding your own little finishing touches. This is one of my favorite hangings in my house, that I got this past Christmas as a present to remember my older brother who passed away in 2014.
How To Make an In Memory Wings Sign:
Supplies: Wooden board, stencil, paint(if using) and tape if using paper stencil
Start by placing stencil on the board and make sure it is where you want it.
Next tape the stencil down so it will not move on you while painting, other wise start peeling backing off sticker.
Dip your paintbrush in the paint and be sure to remember that a little goes a long way. Next start dabbing over stencil while using your other hand to hold the stencil down firmly. You do not want to brush strokes as this could cause paint to go underneath the stencil. You may have to do several layers of paint by dabbing the brush to get the achieved look you want.
Gently remove the stencil and let it air dry over night. If you want you can spray the board with a clear acrylic spray paint to lock in the paint and it will make the paint stand out, but you do not have to do this. You can also spray over the vinyl sticker to make sure it stays on in place.
On the picture of the board above it does not have the spray on it.
Be sure to wrap in tissue paper to protect the paint when wrapping for a gift. This makes for a very special keepsake.
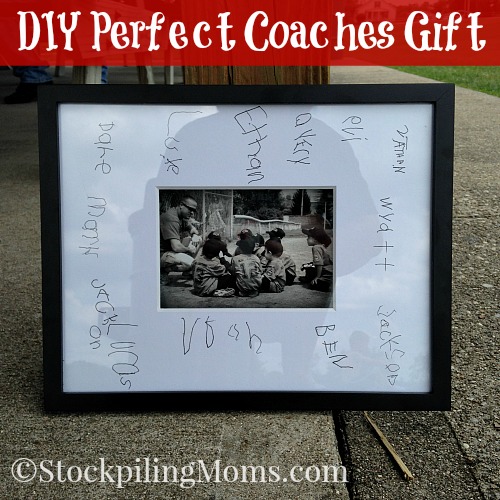
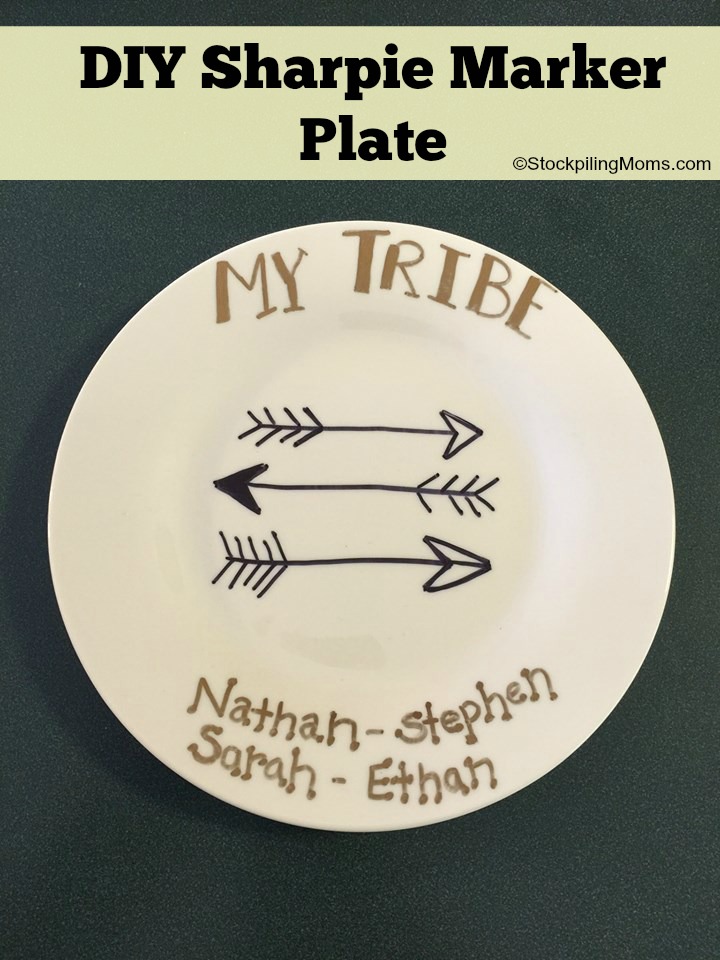
More DIY Ideas You May Enjoy:
Shelley is a boy mom, marine wife, and is blessed with an amazing family. She loves sharing recipes, travel reviews and tips that focus on helping busy families make memories.